Using Explorer
Learn how to verify a smart contract using the official Avalanche Explorer.
This document outlines the process of verifying a Smart Contract deployed on the Avalanche Network using the official explorer.
Contract Deployment
-
Compile the smart contract using the tooling of your choice.
-
Deploy the compiled smart contract to the Avalanche network.
- This can be done on either the mainnet or testnet (depending on your RPC configuration)
-
Upon successful deployment, you will receive:
- A transaction hash
- A contract address
Note
Ensure you save the contract address as it will be required for the verification process.
Contract Verification
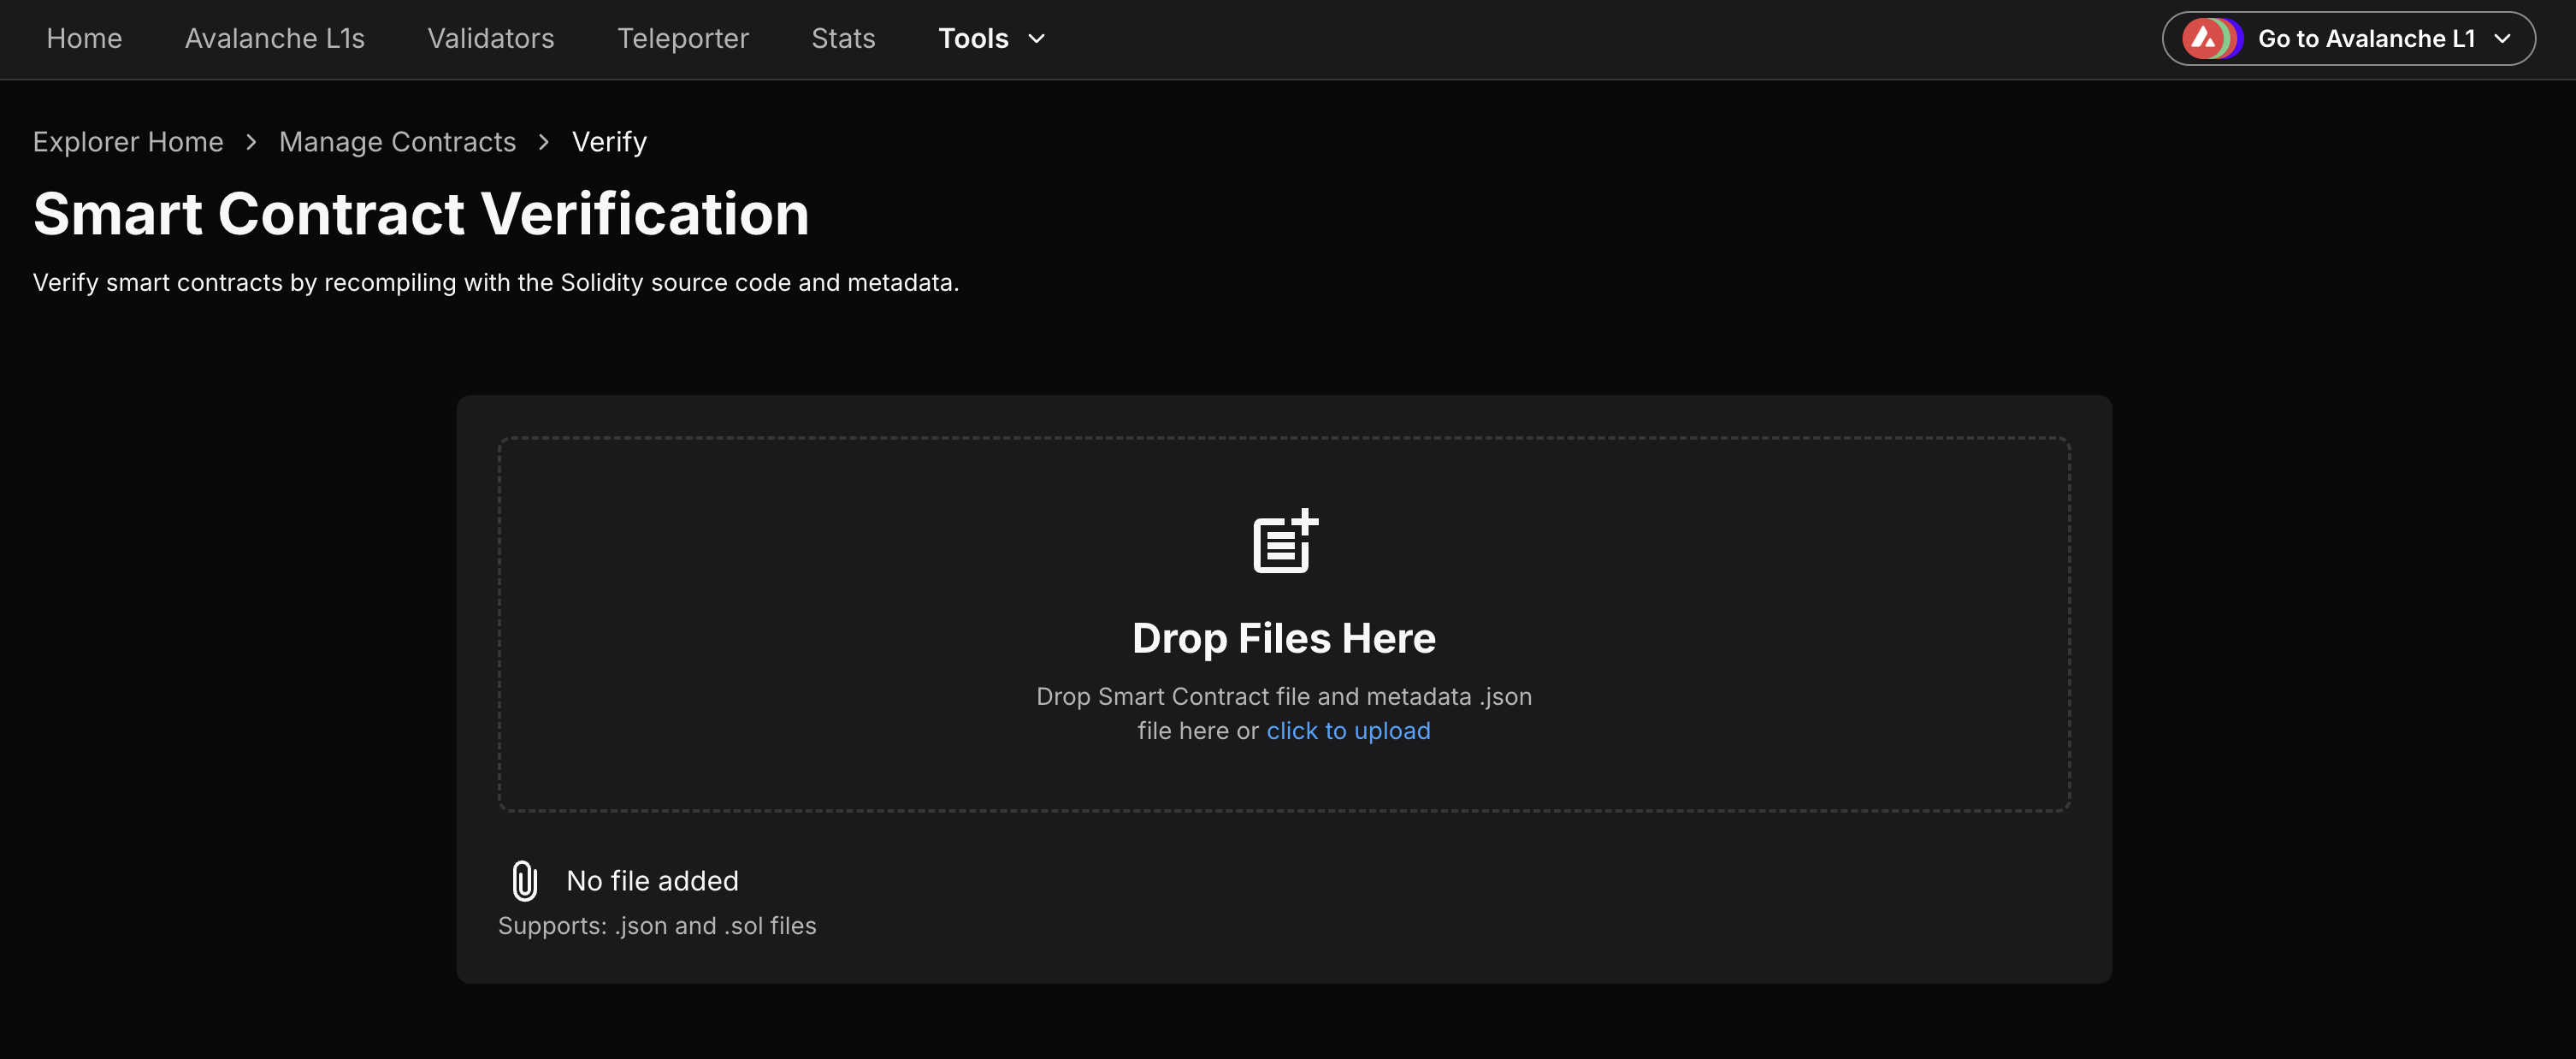
- Navigate to the official Avalanche Explorer and click on Tools dropdown menu to select Smart Contract Verification interface. You may need to open the Testnet Explorer in case the contract is deployed on Fuji Testnet.

-
Prepare the following files:
- The contract's Solidity file (
.sol) - The
metadata.jsonfile containing the ABI and metadata
- The contract's Solidity file (
-
Upload the required files:
- Upload the contract's Solidity file
- Upload the
metadata.jsonfile
-
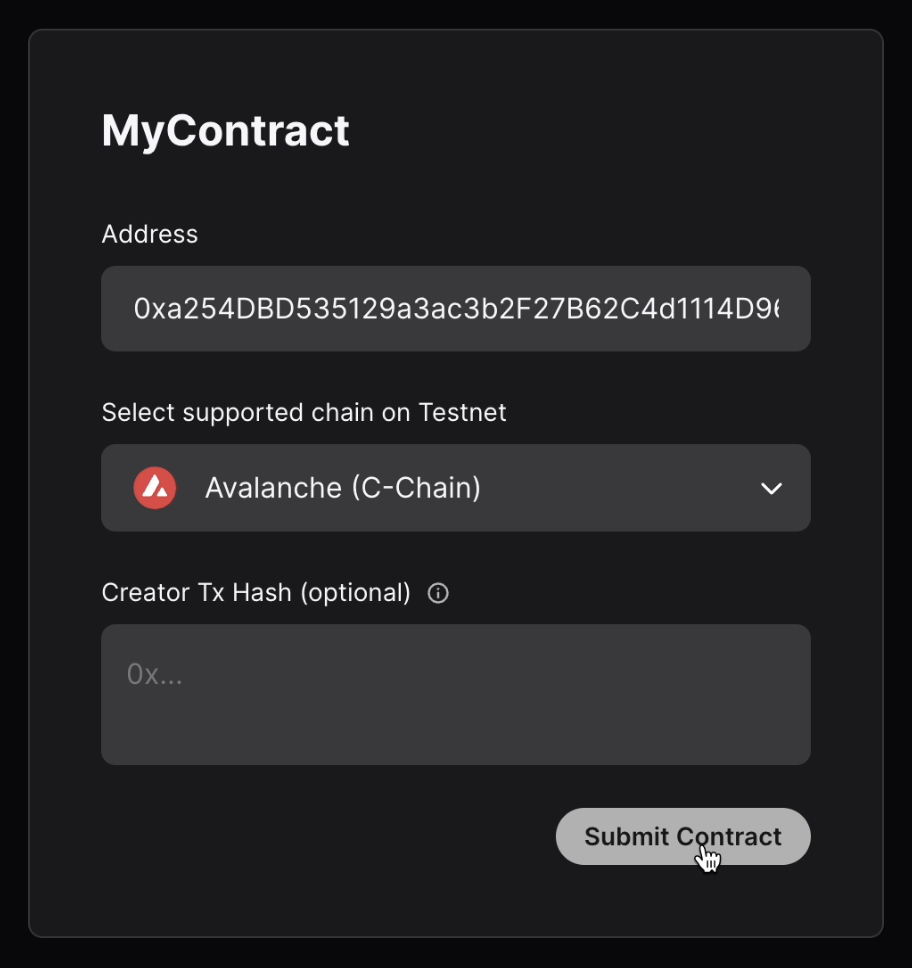
Enter the contract address:
- Paste the contract address obtained from the deployment step into the designated input field.

- Initiate verification:
- Click on the Submit Contract button to start the verification process.
Next Steps
After submitting the contract for verification, your request will be processed shortly and you will see the below message.

For any issues during deployment or verification, please reach out to the DevRel/Support team on Discord/Telegram/Slack.
Last updated on