Running a Relayer
Learn how to run and manage a AWM Relayer.
As you now know Interchain Messaging requires a running relayer to deliver the warp messages underlying it. So far we just assumed a relayer is running and in fact Avalanche CLI automatically configures and runs a relayer for you if you deploy your L1 on a local network. However, in a production environment, you will either need to run a relayer yourself or have someone else run it for you.

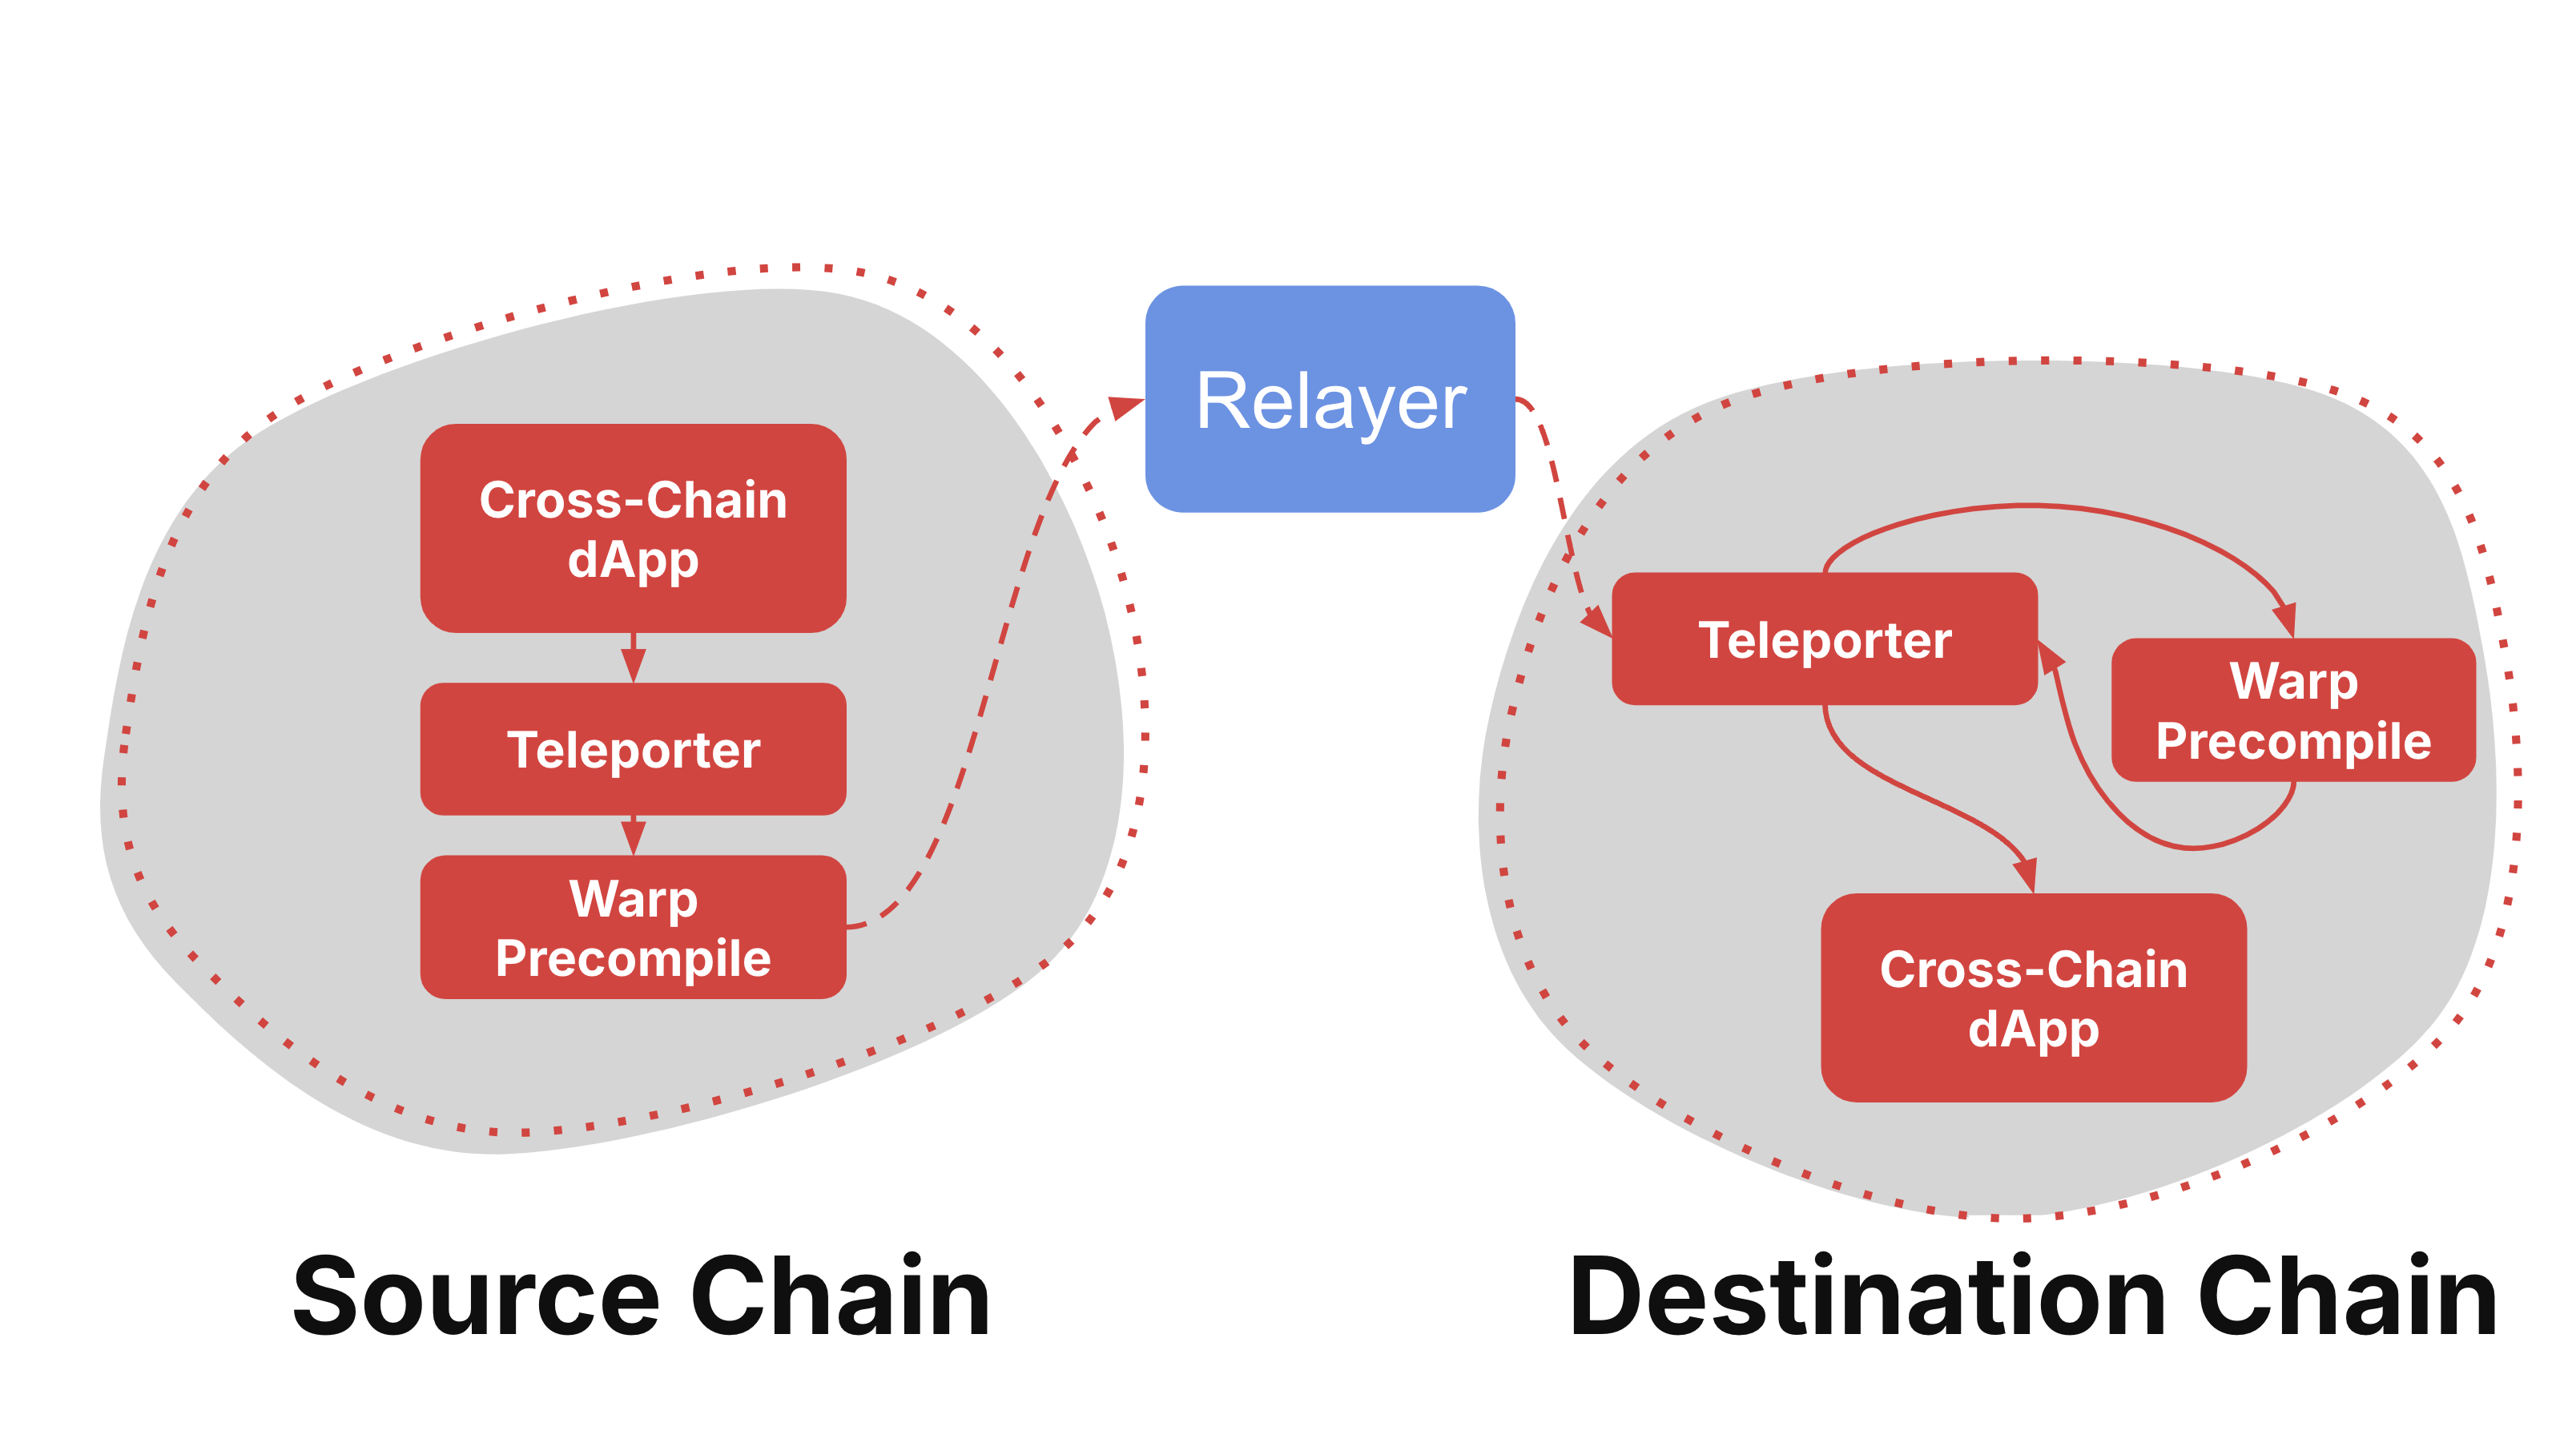
In this section you will learn how to run a relayer for Avalanche Warp Messaging. As discussed in the section on AWM, the relayer is responsible for checking for outgoing warp messages on the source L1, aggregate the signatures and deliver it with a transaction on the destination L1.
This chapter utilizes the reference relayer implementation created by Ava Labs. In this case the relayer is a standalone application written in Go. There may be different implementations in the future that are adapted to special use cases. Anyone can build and run a relayer.
What you will learn
In this section, you will go through the following topics:
- Run a Relayer: You will understand the basic commands to run a local relayer.
- Relayer Config: Here, you will understand how to configure the relayer by creating a relayer config file. This file serves as a blueprint for the relayer's functionality and behavior.
- Wallet: Create a wallet for the relayer, fund it with testnet tokens and add the wallet parameter to the relayer config.
- Run the Relayer: Now you will execute the AWM Relayer with your configuration
- Send Message: Next you will issue a transaction triggering a cross-Avalanche L1 message, so we can observe how the message is delivered by the relayer.
- Verify Message Delivery: You will learn how you can track the message delivery
Last updated on


